Tuckpointing & Repointing Services
Professional mortar repair to restore strength and beauty to your brick and stone structures.
(659) 228-0455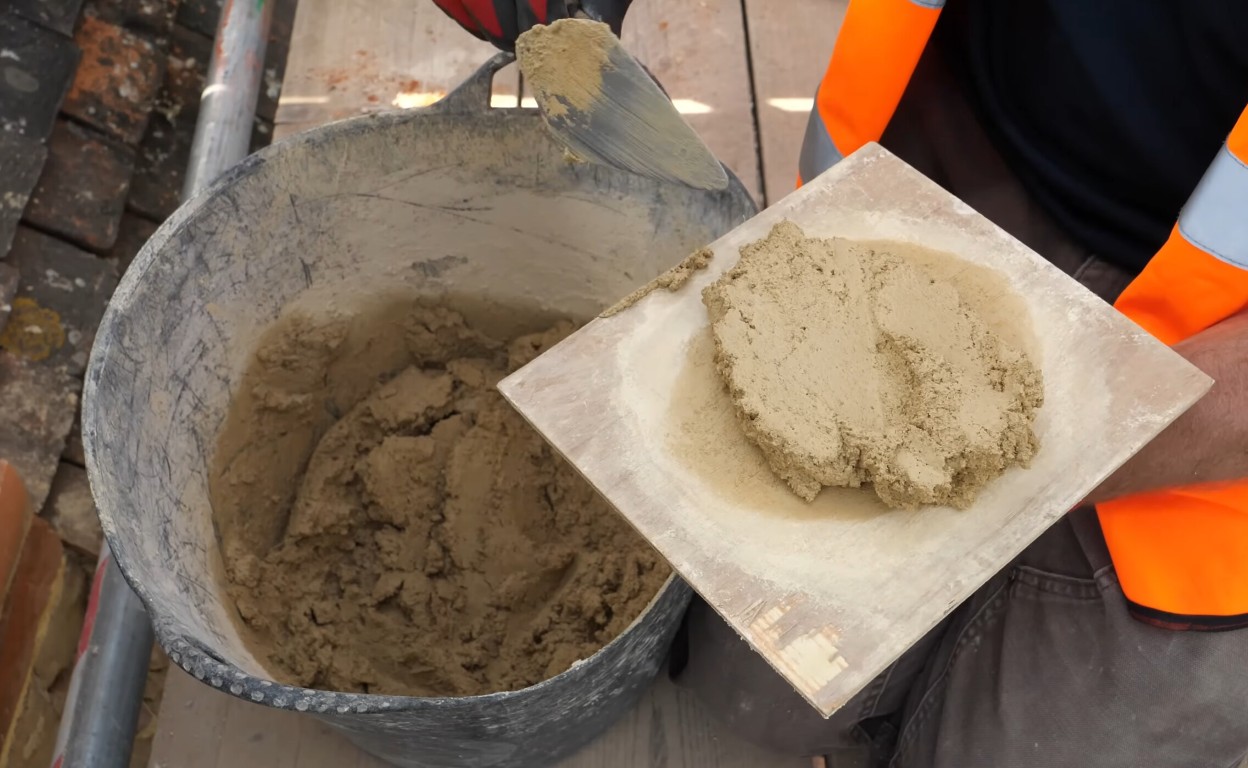
What is Tuckpointing and Why Does It Matter?
Tuckpointing and repointing are essential maintenance services for any brick or stone structure. Over time, the mortar between your bricks breaks down. Weather, water, and age all take their toll. When mortar gets soft and starts crumbling out, it leaves gaps that let water seep into your walls. That water causes more damage, creating a cycle that gets worse every year you wait.
Here is how it works. We carefully remove the damaged mortar from the joints between your bricks. Then we fill those joints with fresh mortar that is properly mixed to match your existing work. The result is a wall that looks better and, more importantly, keeps water out where it belongs. This process is called tuckpointing or repointing, and the terms mean basically the same thing in most cases.
The difference between the two terms is subtle. Repointing is the general term for replacing mortar. Tuckpointing specifically refers to a decorative technique where you create thin lines of contrasting mortar to make the joints look crisp and uniform. In practice, most people use the terms interchangeably. What matters is getting the mortar out and replacing it correctly. That is what we do every day here in Tuscaloosa, AL. If you are also dealing with damaged bricks, we provide complete masonry repair services too.
Signs You Need Tuckpointing
How do you know when your home needs tuckpointing? Look for these warning signs:
- Crumbling mortar: If you can easily scrape mortar out of the joints with a screwdriver or even your finger, it is too soft. Mortar should be hard and solid.
- Gaps in the joints: When mortar falls out completely, you will see gaps between bricks. These gaps let water pour straight into your walls during rain.
- Cracks in the mortar: Small hairline cracks grow into bigger problems. Once cracks form, water gets in and the freeze-thaw cycle makes them worse every winter.
- White staining: When you see white powdery deposits on your brick, that is efflorescence. It means water is moving through your mortar joints and bringing salts to the surface.
- Interior moisture problems: If you have damp spots, mold, or peeling paint on interior walls that back up to exterior brick, bad mortar might be letting water through.
- Loose bricks: When mortar fails completely, bricks can actually become loose and start moving. This is a serious structural problem that needs immediate attention.
Do not ignore these signs. Bad mortar only gets worse, never better. The good news is that tuckpointing catches problems before they turn into major repairs. Replacing mortar now is much cheaper than replacing bricks or repairing water damage later. We also handle brick repair and restoration if your bricks need attention too.
Our Professional Tuckpointing Process
Tuckpointing looks simple, but doing it right requires skill and experience. Here is our step-by-step process.
Step 1: Inspection and Assessment
First, we inspect your masonry thoroughly. We look at the condition of the mortar, check for structural issues, and identify any areas where water is getting in. We also test your existing mortar to understand its composition. This is crucial because the new mortar needs to be compatible with your brick and with the old mortar that remains.
Step 2: Mortar Removal
Next, we carefully remove the old mortar. We typically grind out joints to a depth of about three quarters of an inch to one inch. This gives the new mortar enough depth to bond properly. We use specialized tools that remove mortar without damaging the surrounding brick. This takes time and patience. Rushing this step causes problems down the road.
Step 3: Cleaning and Preparation
After removing the old mortar, we clean out all the dust and debris from the joints. We might also wet the joints slightly so the brick does not suck all the moisture out of the new mortar too quickly. Proper preparation ensures a strong bond between the new mortar and the existing masonry.
Step 4: Mortar Mixing and Matching
We mix fresh mortar to match your existing work. This involves getting the right mix of sand, lime, cement, and water. We also match the color so the new mortar blends in seamlessly. For historic buildings, we might use special lime-based mortars that match the original materials. Modern buildings typically use different formulations. We know the difference and use the right mix for your specific structure.
Step 5: Application and Finishing
We pack the new mortar tightly into the joints using specialized tools. The mortar has to fill the joint completely with no air pockets. Once the mortar starts to firm up, we tool the joints to match your existing joint profile. This might be concave, flat, or another style depending on your building. The joint profile is not just decorative. It affects how water runs off the wall.
Step 6: Curing and Cleanup
After we finish, the mortar needs time to cure properly. We might mist it with water during hot weather to keep it from drying too fast. We clean any mortar residue off the brick faces, leaving your wall looking clean and fresh. The new mortar will continue to gain strength over the next several weeks. If you need comprehensive masonry work, check out our chimney repair services as well.
Frequently Asked Questions
Ready to Restore Your Mortar Joints?
Contact us for a free evaluation and detailed quote for your tuckpointing project.
(659) 228-0455